
As a break in the middle of graduate application, I decided to break into my Voron kits. They’ve been sitting on my shelf for a few weeks now and I really want to start printing parts for them.
Before starting anything and while I was waiting for the KVP ABS to arrive, I had to do a verification of the parts listed in each kits BOM. Since the VORON project is so highly customizable and most would source themselves or buy a proven kit like the LDOs, I had to make sure I got my moneys worth.

So far everything is configured to a 2.4 Voron 350mm size and pretty much follows the generated BOM exactly. There are a few missing parts that I will list here that I noticed while building it:
Short by: 5ish M5 screws (ordered a M5 screw kit), 1-2 M3 screws were one size up/down, 2 pre-made cables (1xmotor and 1xPSU), and the 5V PSU. Raspberry pi is not included.
Economically, I saved a fair bit of money getting the kit. The main cost saving would be the fasteners since I did not have to order assortment kits or custom orders. Cables was debatable since you can easily make all of them by buying spools of wire and connecter heads but the convenience is great for someone who does not already have the equipment (but be prepared to modify them as needed)
For the most part, the assembly is exact to the manual. Parts I printed out of KVP British Racing Green (I need to buy more its so pretty), Crimson, and Polymaker ABS Black. Acetone vapor in a fan box to get a nice shiny finish.
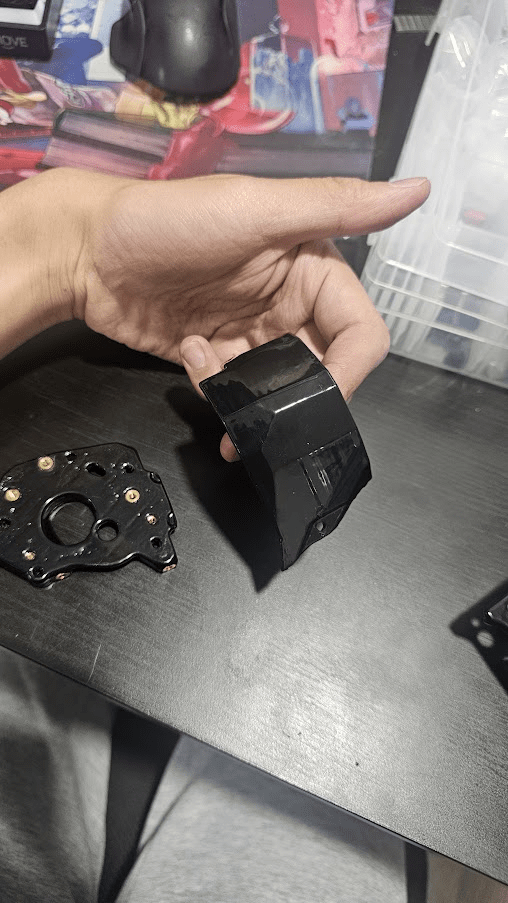

Since my Ender 3 does not like printing fine tolerances with ABS, I bought a modelmaker’s hand drill and combined with my tiny chisel set, chased out all the thru-holes or shaved down edges. Having clean holes for screws really made it easy to align everything.
Some notes for assembly:
When assembling the gantry, the manual recommends keeping all mounts loose. Keep them loose until the X Gantry is installed and you can freely slide it back and forth to check for binding. I noted that the back gantry bar needed to be pried out a little more to make the gantry glide smoother.
I would recommend using spring loaded T-slot nuts for everything functional (meaning excluding the skirt and panel mounts. As opposed to drop in nuts, these will allow you to shift pieces as I did with gantry adjustments without losing its position or grip. However, if you follow the manual exactly you will need to disassemble the frame to slide these nuts afterwards. If you are proactive, you can preinstall all the nuts before tightening the frame. Or do what I did and remove one end to pull the bar aside, realigning it afterwards.

After mechanical assembly (minus the panels for now), you have entered the most confusing challenge: the electronics. I had a lot of struggle with figuring it out and how to flash the firmware so here are my thoughts:
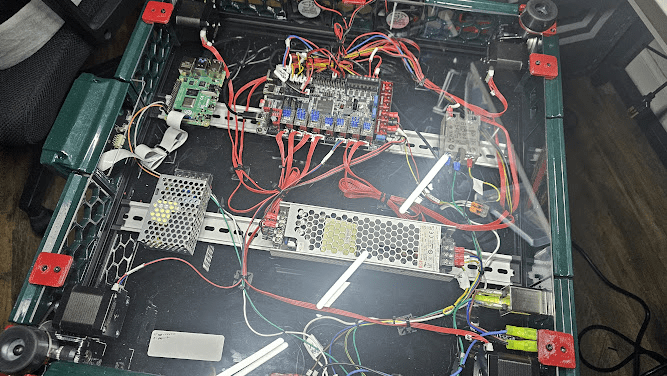
- The board I got was the Octopus Pro V1.0.1. The manual references the Octopus Pro V1.x which for the most part is the exact same except the suggestion for the end stop configuration of the inductive probe. When I wired it up, my probe did not want to trigger the pro board
- The probe lights on/off as expected and when given 24V, 3V can be read on the signal pin.
- The end stop pin PC15 works fine when I switched on of the other XYZ switches onto it.
- I double checked the Pro 1.0x manual and it stated no where to wire up the diode configuration. Scouring the internet and discord doesn’t give me a clear answer so I tried wiring the probe to the board as the manufacturer recommends.
- The probe works perfectly fine now and if it causes problems later down the line that the Voron team justifies the use of a reverse diode, I will reinvestigate. However, with the common consensus that many will make the jump to Klicky probes or tap, I am fine as is.
- At least I bought a Raspberry Pi 5 to use because, bigger number = better performance. But turns out I didn’t have the cable for the BTT PI Screen and looking back at it, the Pi5 might be a bit too overkill for the system. One more trip to Microcenter for a pi 4 and Pi Camera for future monitoring. The Pi 5 will be put to use some other day in a project.
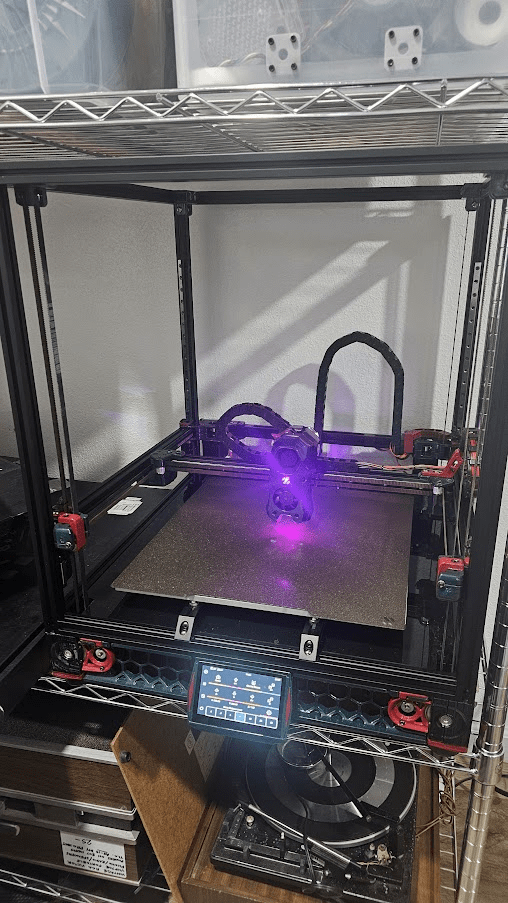
So that’s where the Voron is at now. Since there’s no side panels, I will hold off on heater PID tuning and focus on grad apps and GRE prep x_x

Leave a comment